
Setup Guide
- Home
- Setup Guide
Mount The Tent
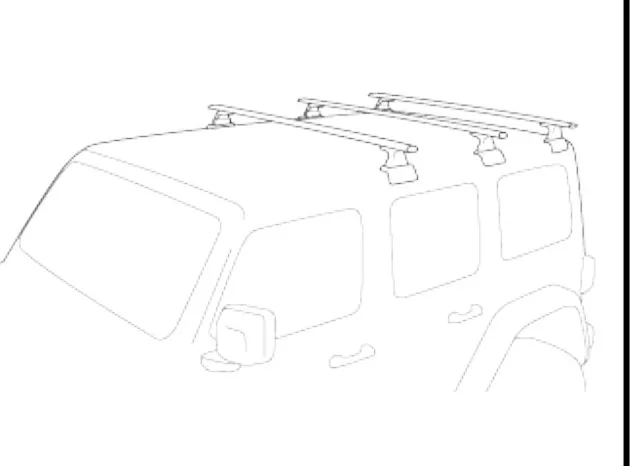
Check your roof rack
Make sure your roof rack is suitable for the rooftop tent. Suggested crossbar weight limit: no less than 90kg.
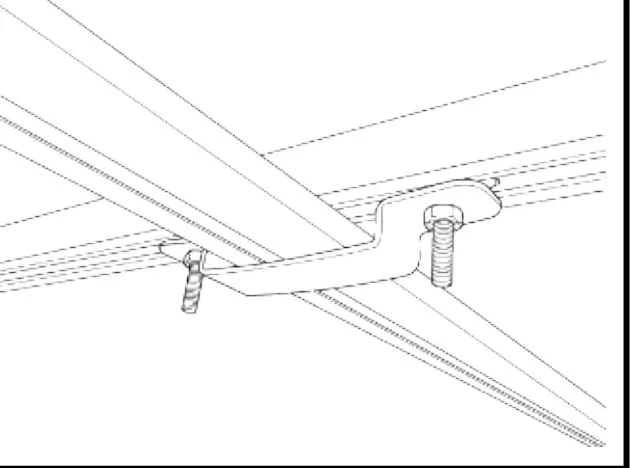
Space the crossbars
For correct weight distribution, position your crossbars around 100cm apart (with a minimum of 50cm from the center).
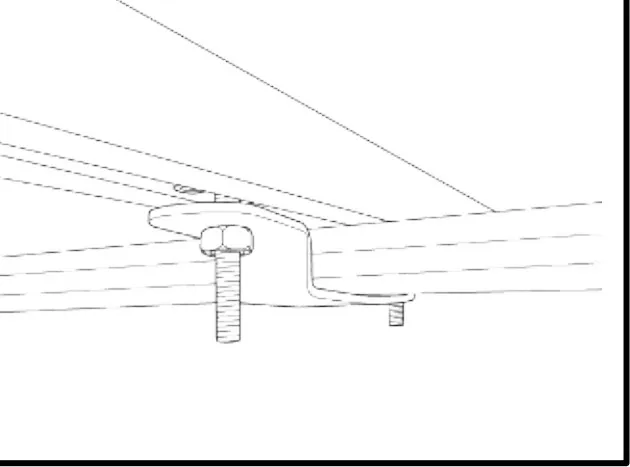
Balance the tent
Balance the tent evenly on the crossbars. Excessive front weight can result in tent movement during transit.
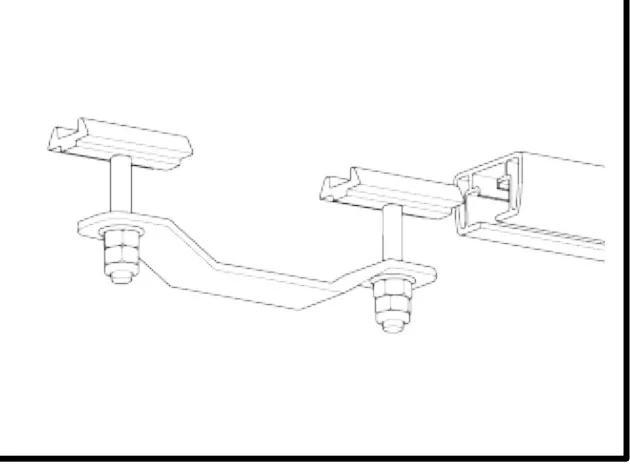
Fit the bolts
Insert the M8 hexagonal bolts into the rails, with one on either side of your crossbar.
Set Up
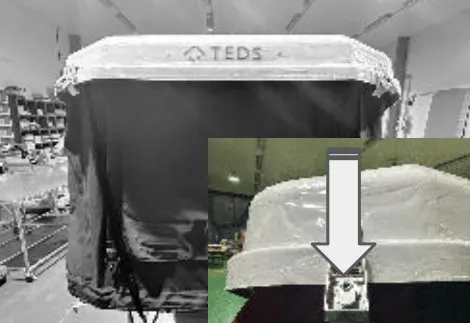
Unlock the front
Unlock the 2 latches at the front with the key and push up the middle of the hard shell.
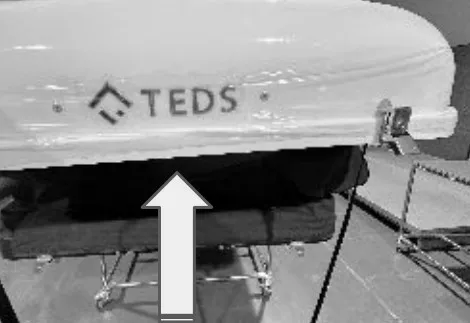
Release the rear
Pull down the latches on the rear side and gently push up the hard shell.
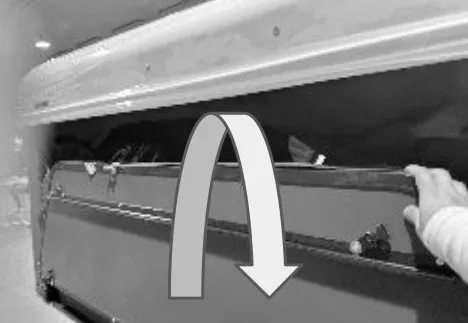
Unfold the panels
Unfold the extension panel on each side.
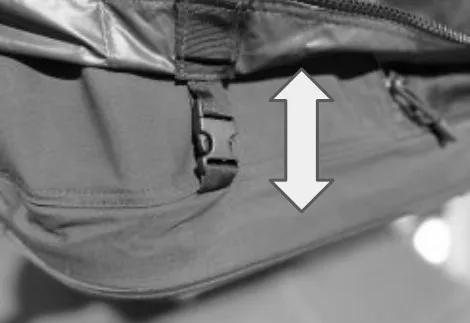
Undo the buckles
Unlock the buckles on each side of the extension panel.
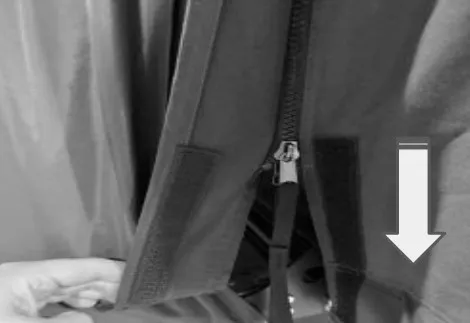
Zip down the corners
Pull the zipper down at each corner of the tent and attach the velcro strips.
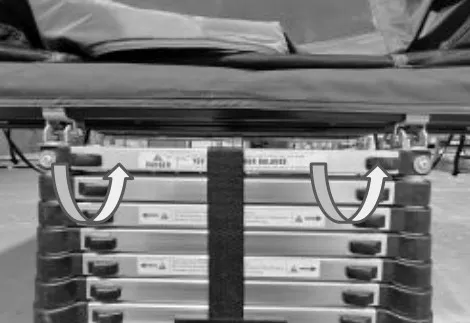
Attach the ladder
Fasten the separately stored ladder to the connecting ring of the extension panel and unzip the tent entrance.
Do not lie or sit on the extension panel without a ladder or rod supporting it. With an extra ladder, place one on each side; otherwise use the rod.
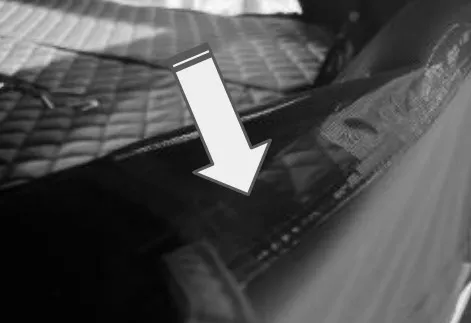
Fit the spring rods
Take the spring rods from the pouch near the entrance and attach them to the holes on each side of the extension panel and the canopy inside.
Close
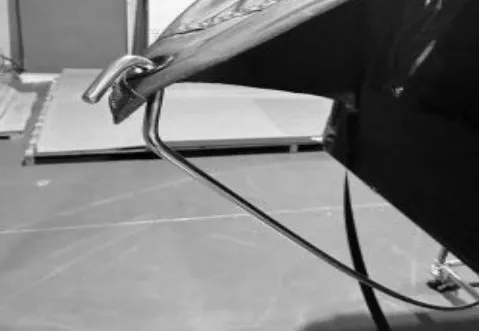
Store the spring rods
Remove all spring rods from the canopies and store them in the designated pouch.
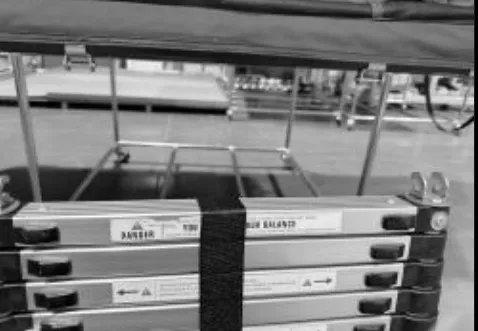
Zip up and remove the ladders
Zip up all windows and entrances, then remove all ladders or telescopic poles and store them separately.
Do not store any ladders or telescopic poles inside the tent as it may cause severe damage to the tent.
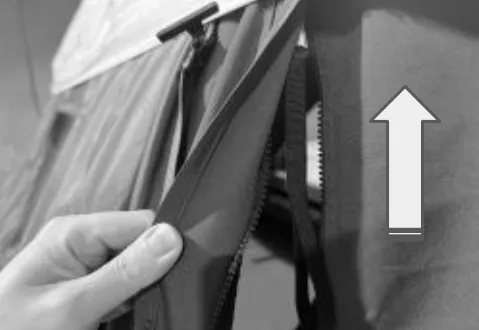
Open the side zippers
Undo the velcro and open up the zipper on each side of the tent.
Do not fold in the extension panel without unzipping all zippers as it may damage the tent fabric.
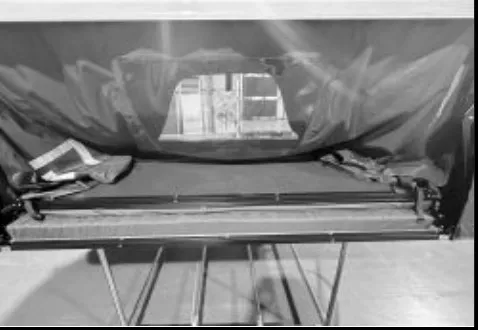
Fold in the panels
Lock in the buckles on each side of the extension panel and fold in the panel on each side of the tent.
Make sure that you can see the gas strut link after folding in the panels to ensure that the tent closes properly.
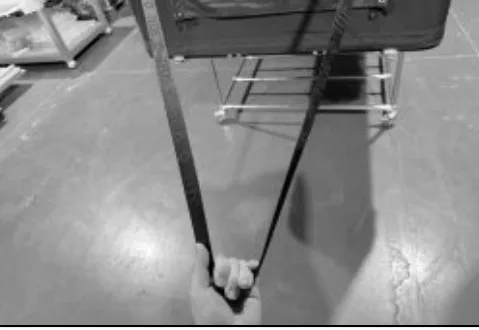
Lower the rear
Pull down the strap in the middle of the rear side of the tent. Once the hard shell comes down, fix it by locking the latches.
Put the strap and any fabric that sticks out inside the hard shell, as it may damage the fabric or stop the tent closing properly.
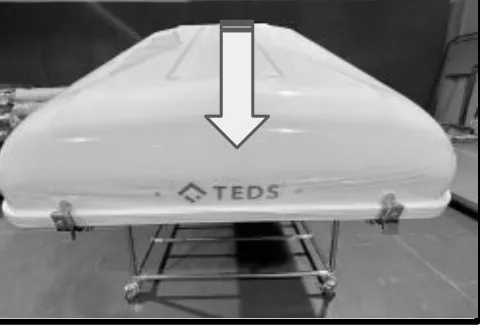
Lower and lock the front
Pull down the strap in the middle of the front side of the tent. Once the hard shell comes down, fix it by locking the latches and lock it using the key.
Before you drive: lift all 4 corners of the hard shell to make sure it is locked. Otherwise, there is a risk of the tent opening during driving.
Watch
See It In Action
Care And Storage
Other tents: guides for Nano, Trion and Penta are on the way. Until then, contact us and we will send what you need.
- Always make sure the tent is thoroughly dried before sealing it shut. If this is not feasible, open it promptly when you reach your home or next destination. Storing a damp tent can encourage mold growth.
- For extended periods of non-use, keep the tent indoors on a cushioned surface, away from heavy foot traffic and debris.
- Clean and treat your tent once a year to maximize its lifespan.
- Avoid leaving the tent exposed for extended periods where it might be vulnerable to insects, rodents or moisture.
- Keep children away from stored tents and make sure they cannot accidentally tip them over.
- Regularly inspect the hardware for signs of rust and replace it when necessary.
- Avoid using excessive force when opening and closing the tent. Inspect the components if anything appears or feels unusual.